
目录
flutter页面的加载
以DF应用为例
+ (instancetype)getFlutterViewControllerWithEntryPoint:(NSString *)entryPoint params:(NSDictionary *)params {
    // 初始化一个新的 FlutterEngine,并为其分配一个唯一的名称。
    // 通过这种方式,可以创建多个 Flutter 引擎实例,并在应用中根据需要进行区分。
    // 这个方法主要用于在 iOS 应用中,创建和管理多个 Flutter 引擎的场景。
    FlutterEngine *flutterEngine = [[FlutterEngine alloc] initWithName:entryPoint];

    // 启动 FlutterEngine 并设置引擎的入口点和初始路由的核心方法。
    // 通过这个方法,你可以灵活地控制 Flutter 引擎的启动行为,指定从哪个 Dart 函数开始执行以及一开始显示哪个页面。
    // entrypoint:指定 Flutter 引擎启动时需要调用的入口点函数名,默认为main。
    // initialRoute:指定 Flutter 引擎启动时的初始路由,默认使用 / 作为初始路由。
    [flutterEngine runWithEntrypoint:@"main" initialRoute:[NSString stringWithFormat:@"/%@",entryPoint]];

    // FlutterViewController视图控制器,负责在原生视图中呈现 Flutter 的 UI。
    // 它充当了 Flutter 与 iOS 原生界面之间的桥梁。
    //绑定engin是因为需要通过engin加载 Dart 代码、渲染Flutter 界面、处理Flutter与原生的消息通信
    FZFlutterViewController *viewController = [[FZFlutterViewController alloc] initWithEngine:flutterEngine
                                                                               entryPoint:entryPoint
                                                                               nibName:nil
                                                                               bundle:nil];

    // 注册插件,在 iOS 中,插件是用来扩展 Flutter 框架功能的一种方式。
    // 通过注册插件,你可以让你的应用能够使用各种原生平台的特性,比如访问设备硬件、调用系统服务等。
    // 插件是对channel的包装,后面会介绍
    [GeneratedPluginRegistrant registerWithRegistry:viewController];

    return viewController;
}
channel的调用流程
一、Flutter调用原生
Flutter代码如下:
// channel 初始化
_channel = MethodChannel('syncData');

 // 向原生传递方法名pop和参数param
 // result为调用的返回值(注意:调用原生方法时返回值是异步返回的,后面会说明原因)
 int result await _channel?.invokeMethod('pop', param)

 // 还可以用下面的这种书写方式
 _channel.invokeMethod('pop', param).then((result) {
     // 处理返回值
 });
OC代码如下:
self.flutterInitChannel = [FlutterMethodChannel methodChannelWithName:@"syncData" binaryMessenger:self.engine.binaryMessenger];


// 调用后会来到原生注册的回调内
[self.flutterInitChannel setMethodCallHandler:^(FlutterMethodCall * _Nonnull call, FlutterResult  _Nonnull result) {
    if (call.method.equals("pop")) {
        // 获取参数
        id param = call.arguments;

        // 处理具体逻辑
        ....

        // 返回结果
        int isSuccess = 1;
        result.success(isSuccess);
    } else {
        result.notImplemented();
    }
}];
在DF内使用了一个单例对象来处理来自Flutter的调用
[[FZFlutterChannelManager sharedInstance] dispatchChannel:call result:result context:strongSelf];


// flutterChannelDic存储的是FZFlutterChannel.plist文件内方法名与类的映射关系
// 通过 'pop' 找到 FZFlutterChannelPop 这个类,调用这个类的 【callWithChannel:result: context:]方法来处理这个调用
- (void)dispatchChannel:(FlutterMethodCall *)call result:(FlutterResult)result context:(id)controller {
    NSString *className = [FZFlutterChannelManager sharedInstance].flutterChannelDic[call.method];
    if (className.length > 0) {
        Class class = NSClassFromString(className);
        if ([class conformsToProtocol:@protocol(FZFlutterChannelProtocol)]) {
            [class callWithChannel:call result:result context:controller];
        }
    } else {
        DDLogInfo(@"FlutterChannel 方法不存在");
    }
}
二、原生调用Flutter
原生调用flutter与上边类似
OC代码如下:
// 创建 MethodChannel
FlutterMethodChannel *channel = [FlutterMethodChannel methodChannelWithName:@"com.example.flutter_channel"
                                                          binaryMessenger:self.flutterEngine.binaryMessenger];

// 调用 Flutter 端的方法
[channel invokeMethod:@"getGreeting" arguments:param result:^(id  _Nullable result) {
    // result是返回值
    if ([result isKindOfClass:[NSString class]]) {
        NSLog(@"Received greeting from Flutter: %@", result);
    } else {
        NSLog(@"Failed to get greeting from Flutter");
    }
}];
Flutter代码如下:
// 创建 MethodChannel
const MethodChannel channel = MethodChannel('com.example.flutter_channel');

// 注册 Flutter 端方法
channel.setMethodCallHandler((MethodCall call) async {
  if (call.method == 'getGreeting') {
    // 返回给原生端的响应
    return 'Hello from Flutter!';
  }
  return null;
});
三、关于channel的一些说明
一个 FlutterViewController 容器 绑定一个 FlutterEngine 它俩是一一对应的。
channel是FlutterEngine的一部分,在FlutterEngine内我们可以有很多个channel,他们有不同的名字。
const MethodChannel channel = MethodChannel('syncData');
const MethodChannel channel = MethodChannel('test');
但需要注意的是
// channel1 和 channel2 是不同的channel实例对象
// 但他们指向的是同一个通道,因为他们的名字一样
const MethodChannel channel1 = MethodChannel('syncData');
const MethodChannel channel2 = MethodChannel('syncData');

// 因为他们指向的是同一个channel,我们在设置方法回调时会发生覆盖
// channel2后设置的方法回调,他会覆盖掉channel1的回调
channel1.setMethodCallHandler((MethodCall call) async {

});

channel2.setMethodCallHandler((MethodCall call) async {

});
另外还有一点特别重要:
不同的FlutterViewController容器对应不同的FlutterEngine,不同的FlutterEngin是无法简单通讯的(isolate可以实现)。
我们在FlutterViewControllerA中通过名字叫syncData的channel调用时,它不会来到FlutterViewControllerB中名字叫syncData的channel的回调方法中。
四、总结
flutter与原生平台的交互依赖于channel而channel属于引擎的一部分。
所以引擎不仅负责了dart的代码的执行,UI的渲染,也负责了flutter与原生的数据交互。
xy:flutter与原生的数据交互是通过通用的二进制来完成的,那么二进制需要转化为对应语言支持的数据类型,在OC端是通过信使binaryMessenger完成的,这个信使就是flutterViewController
Plugin介绍
Plugin的本质是对channel的包装
Plugin注册就是完成channel与信使与当前处理类的绑定。下面代码是插件的注册。
[GeneratedPluginRegistrant registerWithRegistry:viewController];

+ (void)registerWithRegistry:(NSObject<FlutterPluginRegistry>*)registry {
  [AppSettingsPlugin registerWithRegistrar:[registry registrarForPlugin:@"AppSettingsPlugin"]];
  [AudioSessionPlugin registerWithRegistrar:[registry registrarForPlugin:@"AudioSessionPlugin"]];
  [ConnectivityPlusPlugin registerWithRegistrar:[registry registrarForPlugin:@"ConnectivityPlusPlugin"]];


  // [registry registrarForPlugin:@"FLTDeviceInfoPlusPlugin"]生成一个注册员对象
  // 注册员有两个信息,一个是registry(注册表)就是vc,一个是处理调用逻辑的类名FLTDeviceInfoPlusPlugin
  // vc是信使,在channel初始化时有用,类名猜测应该是做校验使用的
  [FLTDeviceInfoPlusPlugin registerWithRegistrar:[registry registrarForPlugin:@"FLTDeviceInfoPlusPlugin"]];


  [InAppWebViewFlutterPlugin registerWithRegistrar:[registry registrarForPlugin:@"InAppWebViewFlutterPlugin"]];
  [ImageGallerySaverPlugin registerWithRegistrar:[registry registrarForPlugin:@"ImageGallerySaverPlugin"]];
  [JustAudioPlugin registerWithRegistrar:[registry registrarForPlugin:@"JustAudioPlugin"]];
  [NotificationPermissionsPlugin registerWithRegistrar:[registry registrarForPlugin:@"NotificationPermissionsPlugin"]];
  [PathProviderPlugin registerWithRegistrar:[registry registrarForPlugin:@"PathProviderPlugin"]];
  [PermissionHandlerPlugin registerWithRegistrar:[registry registrarForPlugin:@"PermissionHandlerPlugin"]];
  [SensorsAnalyticsFlutterPlugin registerWithRegistrar:[registry registrarForPlugin:@"SensorsAnalyticsFlutterPlugin"]];
  [SharedPreferencesPlugin registerWithRegistrar:[registry registrarForPlugin:@"SharedPreferencesPlugin"]];
  [SqflitePlugin registerWithRegistrar:[registry registrarForPlugin:@"SqflitePlugin"]];
  [FLTURLLauncherPlugin registerWithRegistrar:[registry registrarForPlugin:@"FLTURLLauncherPlugin"]];
  [FVPVideoPlayerPlugin registerWithRegistrar:[registry registrarForPlugin:@"FVPVideoPlayerPlugin"]];
  [WakelockPlugin registerWithRegistrar:[registry registrarForPlugin:@"WakelockPlugin"]];
  [FLTWebViewFlutterPlugin registerWithRegistrar:[registry registrarForPlugin:@"FLTWebViewFlutterPlugin"]];
}
我们以 FLTDeviceInfoPlusPlugin 来分析下,我们在flutter项目目录下找到plugin的文件
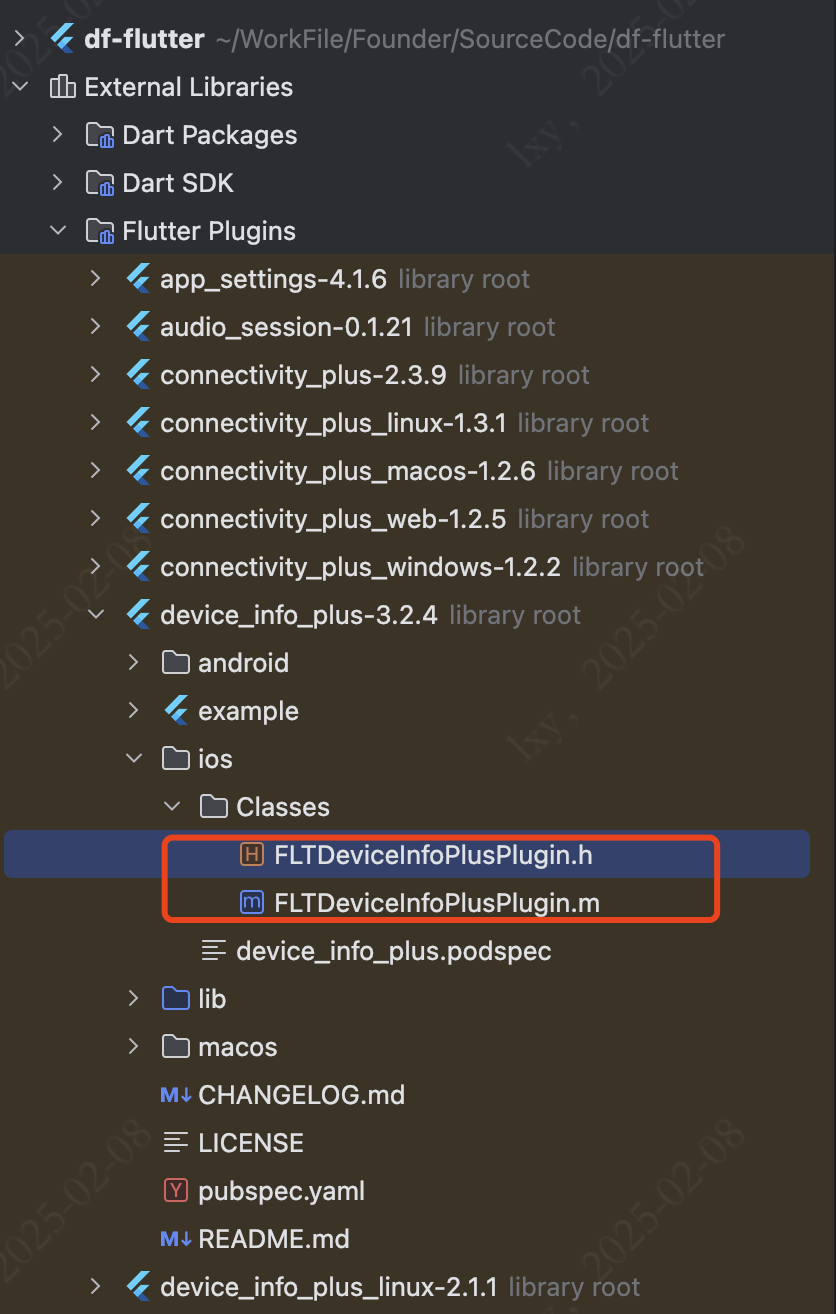
实际的目录是:/Users/lxy/.pub-cache/hosted/pub.flutter-io.cn/device_info_plus-3.2.4/ios/Classes/FLTDeviceInfoPlusPlugin.h
源码如下
// Copyright 2017 The Chromium Authors. All rights reserved.
// Use of this source code is governed by a BSD-style license that can be
// found in the LICENSE file.

#import "FLTDeviceInfoPlusPlugin.h"
#import <sys/utsname.h>

@implementation FLTDeviceInfoPlusPlugin
+ (void)registerWithRegistrar:(NSObject<FlutterPluginRegistrar> *)registrar {

  // 初始化一个chanel,并指定信使
  FlutterMethodChannel *channel = [FlutterMethodChannel
      methodChannelWithName:@"dev.fluttercommunity.plus/device_info"
            binaryMessenger:[registrar messenger]];

  // 初始化处理调用逻辑的实例对象
  FLTDeviceInfoPlusPlugin *instance = [[FLTDeviceInfoPlusPlugin alloc] init];

  // xy:将instance与channel做关联,
  // xy:方法调用时将处理逻辑转移到instance的handleMethodCall:result:这里进行处理
  // xy:这里没有看到registrar注册员生成时传入的@"FLTDeviceInfoPlusPlugin"有什么作用,猜测是对instance做互相校验使用的。
  [registrar addMethodCallDelegate:instance channel:channel];
}


// 处理flutter的调用逻辑,并返回调用结果
- (void)handleMethodCall:(FlutterMethodCall *)call
                  result:(FlutterResult)result {
  if ([@"getIosDeviceInfo" isEqualToString:call.method]) {
    UIDevice *device = [UIDevice currentDevice];
    struct utsname un;
    uname(&un);

    result(@{
      @"name" : [device name],
      @"systemName" : [device systemName],
      @"systemVersion" : [device systemVersion],
      @"model" : [device model],
      @"localizedModel" : [device localizedModel],
      @"identifierForVendor" : [[device identifierForVendor] UUIDString]
          ?: [NSNull null],
      @"isPhysicalDevice" : [self isDevicePhysical],
      @"utsname" : @{
        @"sysname" : @(un.sysname),
        @"nodename" : @(un.nodename),
        @"release" : @(un.release),
        @"version" : @(un.version),
        @"machine" : @(un.machine),
      }
    });
  } else {
    result(FlutterMethodNotImplemented);
  }
}

// return value is false if code is run on a simulator
- (NSString *)isDevicePhysical {
#if TARGET_OS_SIMULATOR
  NSString *isPhysicalDevice = @"false";
#else
  NSString *isPhysicalDevice = @"true";
#endif

  return isPhysicalDevice;
}

@end
鸿蒙与flutter的相互调用
一、flutter 中的UI是如何呈现出来的
二、flutter 通过channel 调用原生
以DF为例,自定义了一个继承自MethodChannel的channel,将处理逻辑封装在了类内部。
// 注意继承关系
export default class SyncDataChannel extends MethodChannel implements MethodCallHandler {

  constructor(context: Context, messenger: BinaryMessenger, name: string,
    codec: MethodCodec = StandardMethodCodec.INSTANCE, taskQueue?: TaskQueue) {
    super(messenger, name, codec);
    this.mContext = context;

    // 指定handler来处理调用逻辑
    this.setMethodCallHandler(this);
  }

    // flutter调用后会来到原生的这个方法
    onMethodCall(call: MethodCall, result: MethodResult): void {
        let method: string = call.method;
        switch (method) {
            case "pop":
                // 处理具体逻辑
                DfRouter.pop()
                break;
        }
    }
}
使用
    // 初始化channel需要传入的信使
    let messager = delegate?.getFlutterEngine()?.dartExecutor.getBinaryMessenger()

    // 初始化一个名称为 "syncData" 的channel
    // 只要这个channel实例不释放,flutter调用原生时就会来到SyncDataChannel内的onMethodCall方法
    this.mSyncDataChannel = new SyncDataChannel(getContext(), messager, "syncData");
如果我们不创建SyncDataChannel我们也可以在任何地方使用
    private initChannel(delegate: FlutterAbilityAndEntryDelegate | null | undefined){
        let messager = delegate?.getFlutterEngine()?.dartExecutor.getBinaryMessenger()
        if (messager) {
          this.mSyncDataChannel = new SyncDataChannel(getContext(), messager, "syncData");
          this.mSyncDataChannel.setMethodCallHandler(this);
        }
    }


    onMethodCall(call: MethodCall, result: MethodResult): void {
        let method: string = call.method;
        switch (method) {
            case "pop":
                // 处理具体逻辑
                DfRouter.pop()
                break;
        }
    }
三、plugin 是如何实现的
可以参考下帮安装页面中的插件是如何实现的
行者常至,为者常成!